Top 5 Common Mistakes When Installing Marine Searchlights
Having worked for years as a marine searchlights manufacturer, we encounter familiar installation blunders in nearly every new project. Even a small misstep can shrink beam distance, allow water intrusion, or weaken the wires themselves. Here we outline 5 of the common mistakes when installing marine searchlights and explain simple ways to avoid each one. Follow our advice, and your marine searchlights will shine brightly and safely for many seasons to come.
Table of Contents

Mounting in the Wrong Spot
Pointing your marine searchlight in what seems an easy spot can actually cage the beam. You lose distance, waste power, and wind up seeing less.
Why Bad Placement Shortens Your Beam
Mounting the lamp behind railings, under a radar dome, or too low on the deck lets nearby objects swallow part of the light. You assume everything is aimed, yet the glow simply refuses to climb over the hurdles. In our shop we test every model at several heights. We routinely record a thirty-percent drop in range when the beam collides with barriers.
How to Find the Right Spot
| Step | Action |
| Playact at night | Grip a flashlight in the planned location and stroll the boat watching where shadows creep in. |
| Aim high and free | Pick an area at the bow tip, on the mast base, or the flybridge roof—somewhere above rail tops and clear of antennas. |
| Check for strength | Confirm the deck or rail can carry the bracket plus the lamp without sagging. |
| Pilot and test | Drill tiny guide holes, bolt the mount, fire up the light, and scan the beam before finishing the wiring job. |
Ignoring the Waterproof Seal
Even lights with a high IP rating can leak when crews forget to add sealant. Once water gets in, it rusts electrical contacts and clouds the lens.
Why Sealant Matters on Factory-Sealed Fixtures
The built-in gasket repels most spray, yet a tiny misalignment or oversize screw hole still opens a path. In lab tests, unsealed bases trapped moisture after only two weeks in salt mist. That damp air eats away at terminals and turns clear lenses a milky white.
How to Add Sealant the Right Way
| Step | Action |
| Clean the surface | Scrape off paint, dust, and grease so the sealant sticks well. |
| Apply marine silicone | Place a thin, steady layer of bead around the edge of the fixing board—don’t skip the corners. |
| Even torque | Tighten screws in an X pattern so the gasket squishes down evenly. |
| Trim excess | Wipe away any surplus so it doesn’t attract dirt or drip underneath. |
Using Undersized Wiring
Thin wires choke power. You get a dim beam and risk overheating the wire under load.
How Wire Gauge Affects Brightness and Safety
Every foot of wire adds resistance. With a smaller gauge or higher-AWG wire, you lose voltage before it reaches the lamp. On a 12-V, 5-A circuit, a 20-foot run of 16 AWG drops over 1 V, stealing about ten percent of the light. Even worse, the wire heats, melts insulation, and may spark.
Selecting and Routing the Correct Wire
- Check specs: use at least 12 AWG for runs under twenty feet on standard 12-V marine searchlights; go to 10 AWG on stronger 24-V systems.
- Minimize length: mount switches and fixtures close to the battery or fuse block to shorten the run.
- Use marine-grade wire: tinned copper resists corrosion and stays flexible, even in damp air.
- Secure routing: fasten the wire with clamps or ties every twelve inches to stop rubbing against metal edges.
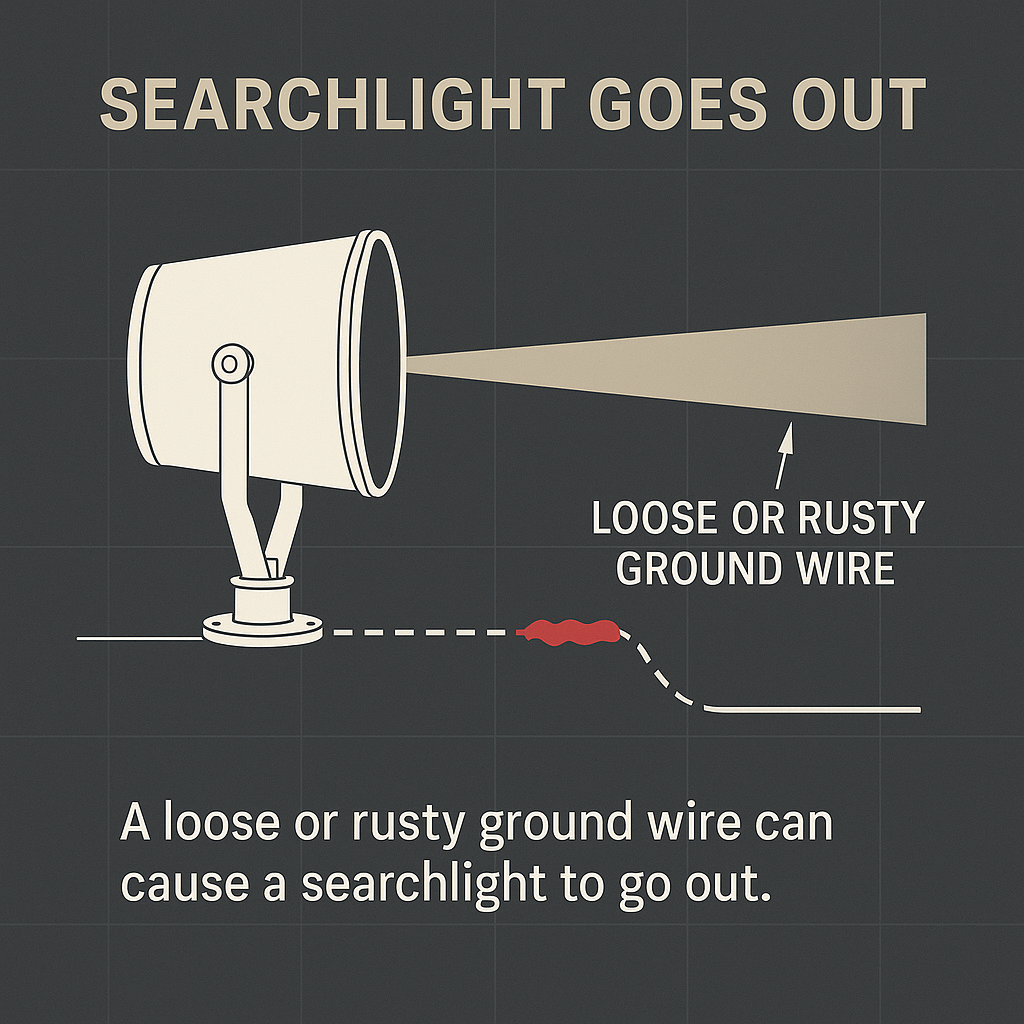
Neglecting Proper Grounding
A loose or rusty ground wire will cause the searchlight to flicker, and in extreme cases, the light may shut off altogether. A clean, tight ground lets current flow smoothly back to the battery.
Why a Good Ground Matters
Electricity always needs a return path. When a ground lug touches old paint or rusty metal, it adds extra resistance. In field tests, a corroded ground point boosted resistance by 50 percent, dimming the light or shutting it down under heavy load.
How to Create a Reliable Ground Connection
| Step | Action |
| Find bare metal | Sand or scrape the mounting spot until it shines like a new dime. |
| Bolt tight | Slip a star washer under the lug so it bites in, then tighten with a torque wrench. |
| Protect with grease | Rub dielectric grease over the joint to seal out water and salt. |
| Inspect seasonally | Look for corrosion and re tighten the bolts during every service check. |
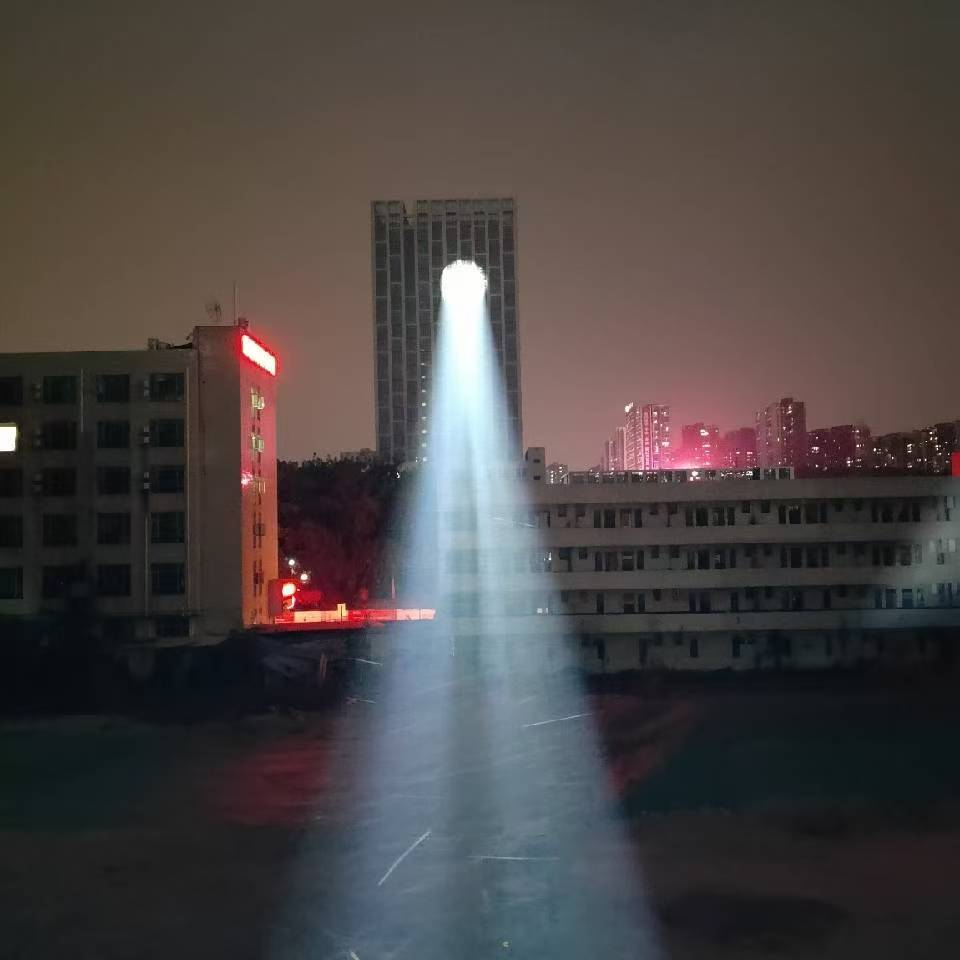
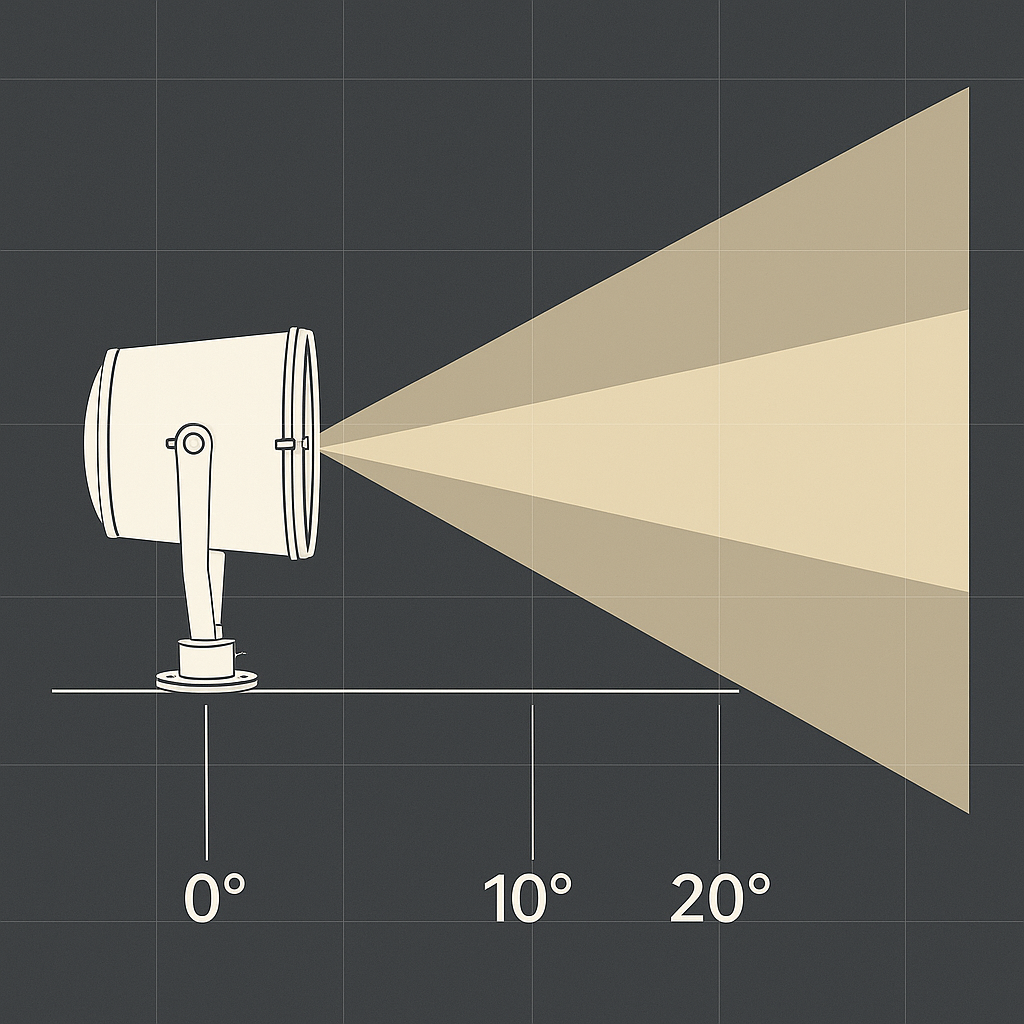
Ignoring Beam Alignment
A beam pointed in the wrong direction will waste energy and show less area. Lots of owners skip the last tweak and leave it too high or low. In our factory we aim each light at 0, 10, and 20 degrees to measure range. On your boat, ask a friend to watch from shore while you jog the tilt. Move it until the spot hits exactly where you need it.
Conclusion
Avoid these five mistakes and your marine searchlights will deliver full range, lasting performance, and worry-free nights on the water. Whether you’re new to installing marine searchlights or you’re a seasoned pro upgrading your gear, following these factory‑tested tips ensures you’ll shine with confidence on every voyage.