
How to Install Marine Navigation Lights Correctly
Navigation lights are key safety equipment for boats, yachts, fishing vessels, and commercial ships. They let nearby boats read a vessel’s location, heading, and basic operating state, especially vital during nighttime navigation, periods of reduced visibility, and adverse weather conditions. When marine navigation lights are installed correctly, other vessels can spot you from the correct directions, which supports compliance with applicable maritime regulations and reduces the risk of collisions.
However, installing marine navigation lights involves more than simply mounting a light fixture. Vessel owners have to plan where the lights go. They also need to check the viewing angles, mounting height, electrical wiring, water protection and regulatory requirements. If these points are handled well, the navigation lights will keep working and will signal the right way at sea.
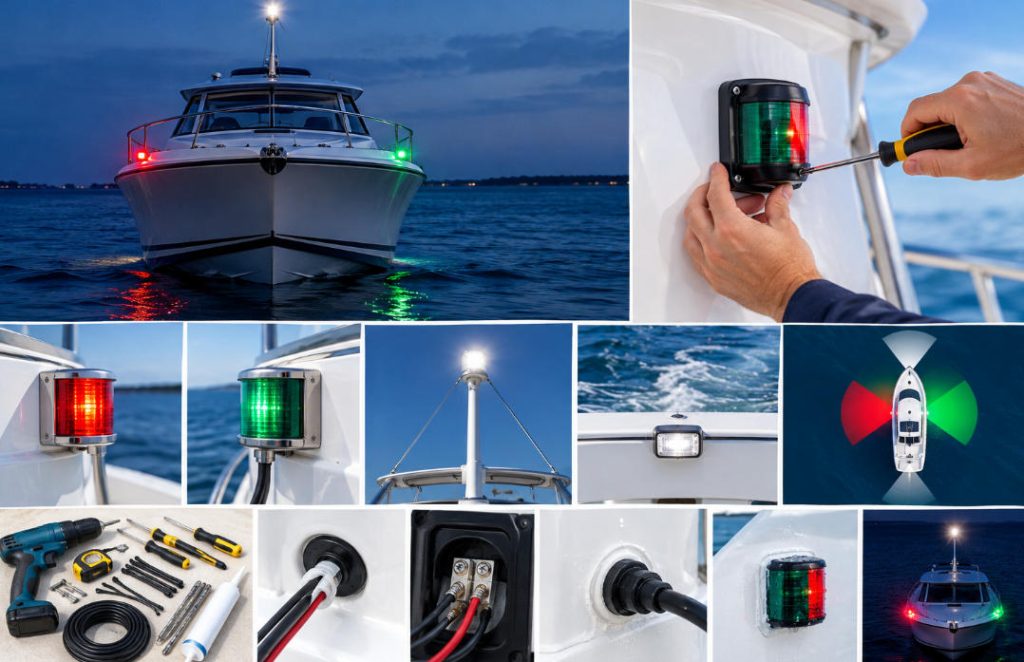
Table of Contents
Understand Marine Navigation Light Requirements
Start by figuring out what lights your vessel actually needs. The answer depends on the vessel size. It depends on the vessel type too. It also depends on how you operate it. You may be underway or anchored. You might be doing special work that changes which lights apply.
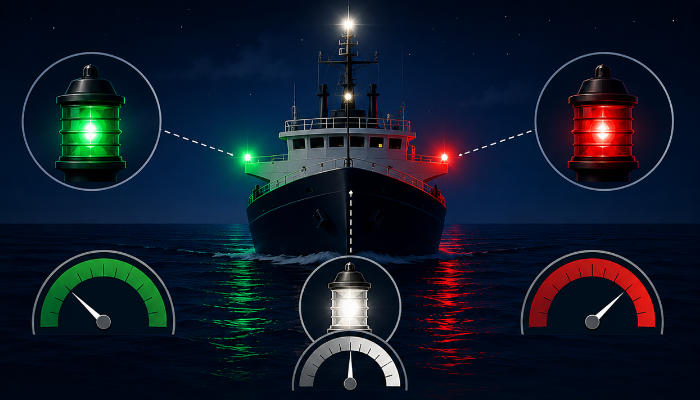
Under the International Regulations for Preventing Collisions at Sea( COLREGs), many vessels use sidelights, a masthead light, a sternlight, and sometimes an all-round white light. But the exact set is not identical for every vessel. Some craft use one pattern. Others use a different one.
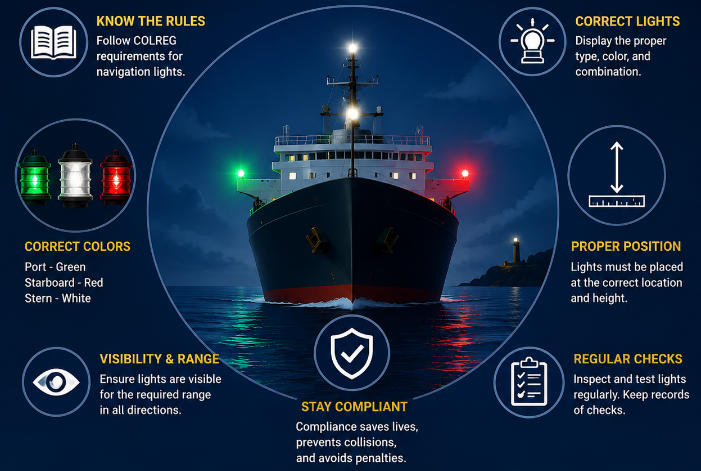
Red and green sidelights show the port and starboard sides on a power-driven or sailing vessel. The white sternlight marks the rear of the vessel. The masthead light shows the front on a power-driven vessel. All-round white lights show up only in certain setups. This includes some anchored vessels and smaller craft.
A Step-by-Step Guide to Installing Marine Navigation Lights Correctly
1. Choose Suitable Marine Navigation Lights
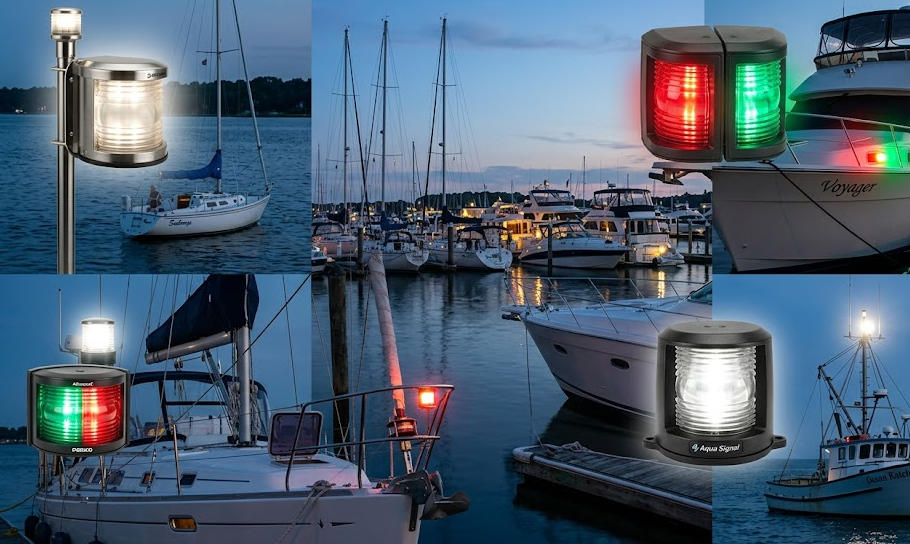
Selecting the right navigation lights first. This helps you get a safer setup that works as intended. Marine conditions are harsh on electrical parts. Saltwater is common. Moisture is constant. The platform vibrates. Sun exposure can be strong. Temperatures shift. For that reason, regular outdoor lights are not a good substitute for approved marine navigation lights.
LED marine navigation lights are common now. They draw less power. They also run cooler. They usually last longer. Some vessels still use incandescent navigation lights. If you go that route, you may face bulb changes more often. Higher power use can also mean more planning for the electrical system.
When selecting navigation lights, consider the following factors:
- Regulatory compliance: Pick lights that are approved or certified for your vessel and use. Follow what the authorities require.
- Visibility range: Make sure the light meets the needed luminous intensity and nominal range for the vessel class.
- Viewing angles: Confirm the light shows the required horizontal viewing sector.
- Environmental protection: Choose a unit with good water protection. Use corrosion-resistant parts that work well in sea conditions.
- Electrical compatibility: Verify the voltage and current needs. Also confirm polarity and fit with the vessel wiring.
- Mounting design: Select fixtures that mount firmly in the right spot. Do not block the light output.
A good marine navigation light supplier should share clear technical specs, setup steps, and the compliance paperwork you need for correct selection.
2. Determine the Correct Mounting Positions
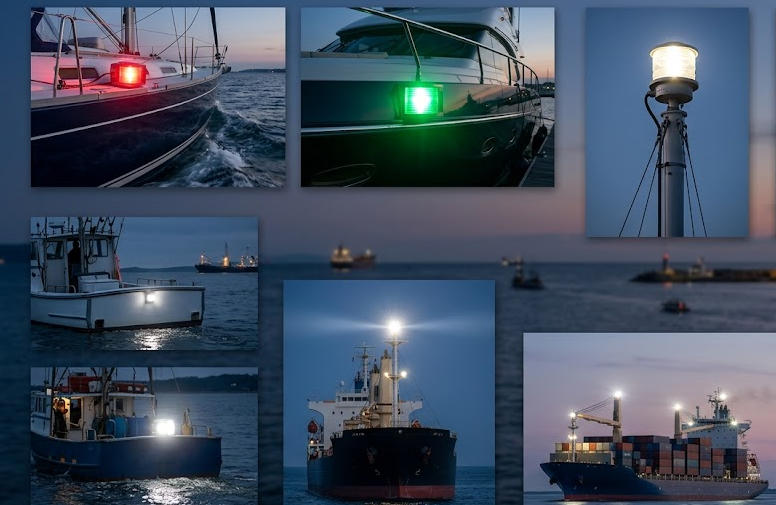
Correct positioning is one of the most important aspects of marine navigation light installation. Even a high-quality light can fail to perform effectively if it is mounted in the wrong location or obstructed by the vessel’s structure.
| Navigation Light Type | Recommended Mounting Position | Key Positioning Requirements |
| Port Sidelight (Red) | Port (left) side of the vessel when facing forward | Must display the required red sector of visibility, generally 112.5° from right ahead to 22.5° abaft the beam |
| Starboard Sidelight (Green) | Starboard (right) side of the vessel when facing forward | Must display the required green sector, generally 112.5° from right ahead to 22.5° abaft the beam |
| Masthead Light | On or near the vessel’s fore-and-aft centerline, above the sidelights where required | Must display white light over the prescribed forward arc; height and arrangement depend on vessel type and size |
| Sternlight (White) | At or near the stern of the vessel | Must display white light over the required 135° sector centered directly astern |
| All-Round White Light | At a position that provides unobstructed 360° horizontal visibility | Must remain visible through the full horizon, with placement and height complying with the applicable vessel-specific rules |
| Anchor Light | In a position providing the required all-round white visibility when the vessel is at anchor | Must meet applicable anchor-light requirements for the vessel’s size and circumstances |
| Additional Navigation Lights | At positions specified for the vessel’s configuration and operating status | Must follow applicable COLREGs requirements for vessel type, length, and activity |
The exact mounting heights, separation distances, and required light arrangements depend on the vessel’s type, length, and operating status. Always consult the applicable COLREGs provisions and the manufacturer’s installation instructions before finalizing mounting positions.
3. Prepare the Installation Area and Tools
Doing the prep work lowers mistakes during setup. It also helps avoid harm to the vessel. Before you begin, look at the mounting surface. Confirm it can hold the fixture during vibration, wind, and day-to-day operation.
You will usually need a drill, drill bits for the material, screwdrivers, and measuring tools. Plan on marine-rated fasteners. Corrosion-resistant brackets are a plus. Bring marine wire, connectors, cable glands, and a marine-safe sealant. Heat-shrink tubing and waterproof connector parts can also be needed, based on how you wire it.
Cut power to the circuit before you connect any wires. If the vessel system is not simple, use a trained marine electrician.
Mark where each light will sit. Before drilling, check the far side of the surface. Look for hidden cables, fuel lines, framing, and other items that could get hit. Do not weaken load-bearing sections. Do not drill into areas where water might later enter the vessel.
4. Install the Navigation Light Fixtures
After you confirm the mounting points, fit the fixtures using the manufacturer’s steps.
Start by placing the light in position. Check the direction before you fix it down. Some lights have alignment marks or mounting parts that set the beam direction. Use those cues, not just the shape of the housing.
Then drill the holes in the needed size. Use the correct tools. Put marine sealant around any penetration if the design calls for it. Make sure the sealant matches the mounting parts and the fixture build.
Secure the lamp with fasteners that resist corrosion. Tighten the parts to match the maker’s directions. Do not over tighten. Too much force can split the housing, harm the seals, or warp the mount surface.
Once it is set, check the whole fixture. Make sure it sits firm and is lined up the right way. Look for any obvious openings. Small gaps can let water in.
Do not smear sealant on lens or other optical parts. Keep sealant off drain areas, vent slots, and any openings meant to stay usable. Also avoid covering pieces that must be easy to reach later.
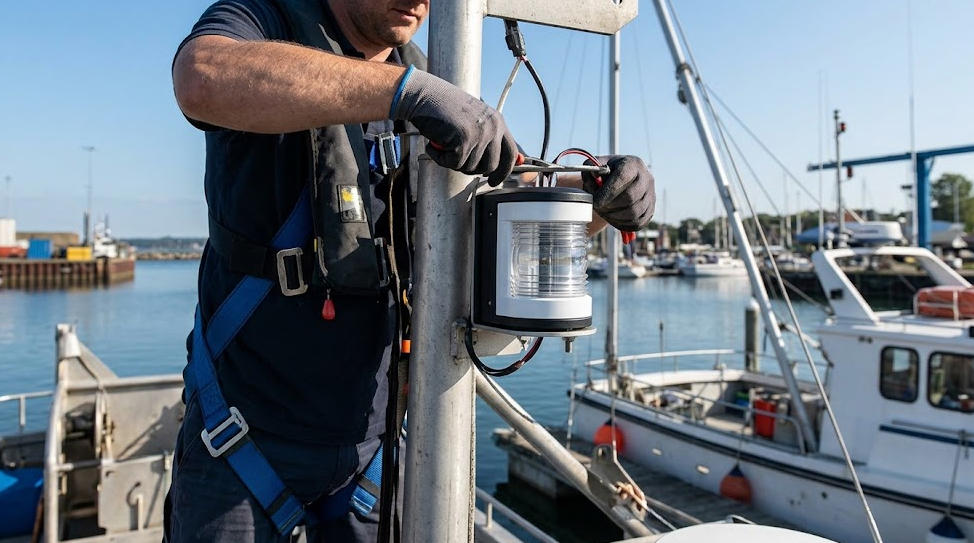
5. Connect the Electrical Wiring Properly
Wire setup matters for steady navigation light use. Weak joints, cable that is too small, insulation that is worn, or weak circuit protection can cause flicker. In some cases the light will stop fully.
Start by checking the vessel’s nominal voltage. Then confirm the light’s required voltage. Use marine wire. Pick the right wire size by the current load. Also consider cable run length, voltage drop limits, and the temperature rating. Follow the manufacturer’s guidance for the build.
Use the wiring diagram for the light. Attach the positive and negative leads as shown. Pay attention to polarity when the light needs it. This is common with LED navigation lighting. Use marine electrical connectors. Seal or cover any exposed joint so moisture and salt air cannot reach it.
Navigation light circuits need proper overcurrent protection. This can be a fuse or a breaker with the correct rating. Choose the device so it guards the cable. It must also match the light’s set operating current and start-up behavior.
Keep cables away from sharp edges. Also keep them off warm surfaces and moving parts. Prevent repeated rubbing in areas that can abrade the jacket. Fasten the cable so it cannot sag or shift. Use cable glands or protective fittings where cables pass through bulkheads or where they are exposed on the outside.
After wiring is done, check each connection before you power up. If multiple lights share one circuit, or if a panel controls them, confirm the circuit wiring matches the vessel plan.
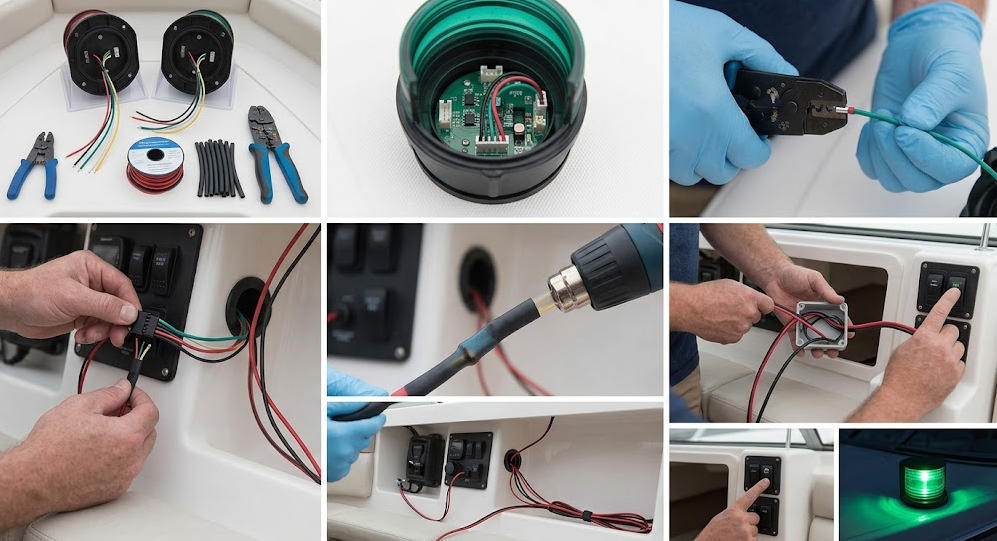
6. Seal and Protect the Installation Against Water
Moisture getting inside is a major marine issue. It leads to corrosion and can damage marine electrical gear. Saltwater is worst. It speeds up corrosion and can weaken electrical joints over time.
Use sealants, gaskets, and cable entries made for marine use. Use items that match the housing material. They should fit the mounting surface and the expected outdoor conditions.
Arrange cable entries to limit water travel toward the fixture or enclosure. Where it makes sense, add a drip loop. Let water run away from the joint before it can reach the connection point.
Corrosion-resistant fasteners, like stainless steel, can last longer. Still, pick the material based on the nearby metals. This helps limit galvanic corrosion. Also, look over the mounting parts on a regular basis. Check connectors, seals, and cable insulation for wear or early damage.
A waterproof housing is not enough by itself. The full setup must hold up in a marine setting. Pay extra attention to where you drill or mount parts. Also review every electrical joint and cable route.
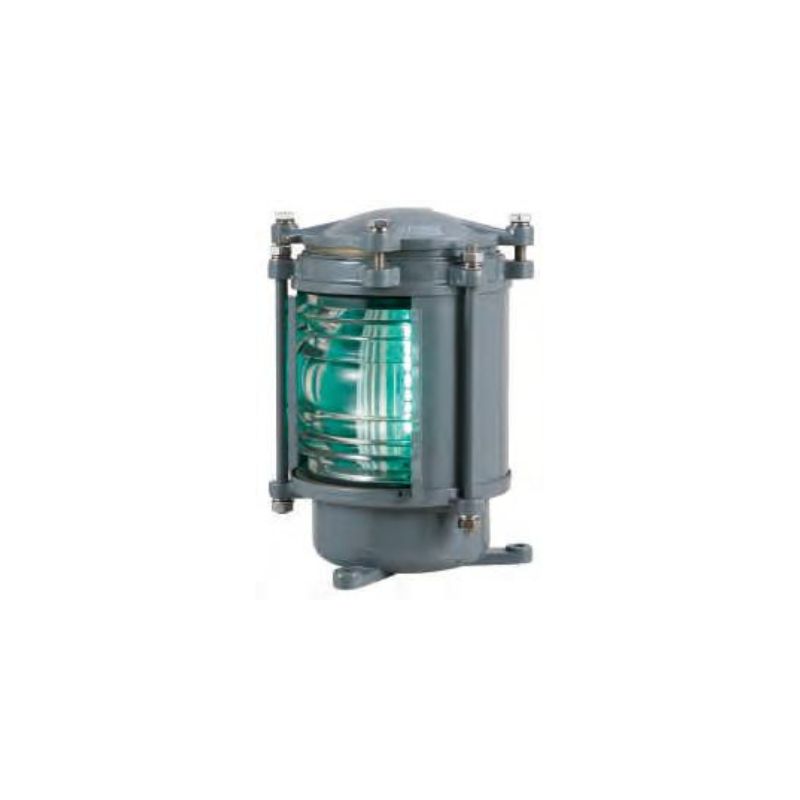
7. Test Navigation Lights After Installation
After installation, test each navigation light individually and as part of the complete navigation lighting system. Testing should take place before the vessel returns to service.
Start by turning on the navigation light circuit. Confirm that each fixture turns on and lights up. Verify that red and green sidelights are placed on the right sides. Make sure white lights match the planned layout.
Then check light output from different angles. Make sure each fixture is not blocked by the hull, gear, covers, or new attachments. If needed, follow the proper inspection steps to confirm the required horizontal sectors are clear. Also check that they line up correctly.
Next, review the electrical side. Look for loose joints, too much voltage drop, odd flicker, or heat buildup. Test the related switches, circuit breakers, and any indicator lights.
A quick look at the dock can help, but it will not catch everything. It may miss small alignment issues or visibility faults. If you are not sure about compliance, use the correct technical test method. Or ask a qualified marine technician to check the installation.
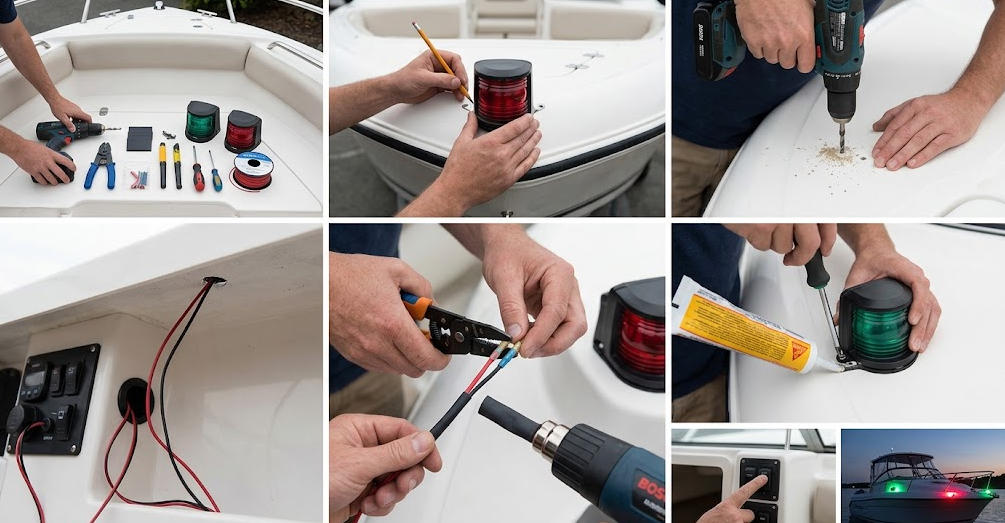
Common Installation Mistakes in Marine Navigation Lights
Several installation mistakes can reduce visibility, damage equipment, or create compliance problems.
| Common Installation Mistake | Potential Problem | Recommended Solution |
| Incorrect light positioning | Reduces visibility and may cause other vessels to misinterpret the boat’s direction | Follow applicable COLREGs requirements and the manufacturer’s installation instructions |
| Reversed port and starboard lights | Other vessels may misidentify the vessel’s heading | Install the red light on the port side and the green light on the starboard side |
| Obstructed light output | Masts, antennas, railings, or equipment can block required visibility sectors | Select mounting positions that provide unobstructed visibility across the required horizontal arcs |
| Incorrect mounting height | May cause non-compliance with required light arrangements and visibility | Verify the vessel-specific height and positioning requirements before installation |
| Poor electrical connections | Can cause flickering, intermittent operation, or complete light failure | Use marine-grade wiring, suitable connectors, and secure terminals |
| Inadequate circuit protection | Wiring may overheat or become damaged during an electrical fault | Install correctly rated fuses or circuit breakers and appropriately sized cables |
| Improper waterproofing | Moisture intrusion can cause corrosion, short circuits, and equipment failure | Use compatible marine sealants, gaskets, and waterproof cable entries |
| Using non-compliant navigation lights | The lights may not meet required color, visibility range, or sector specifications | Choose approved lights appropriate for the vessel and its operating conditions |
| Loose mounting hardware | Vibration and movement can misalign or detach the fixture | Use suitable corrosion-resistant fasteners and inspect mounting stability regularly |
| Incorrect LED polarity or voltage | The light may fail to operate or sustain damage | Confirm voltage compatibility and follow the manufacturer’s wiring diagram |
| Poor cable routing | Abrasion, heat, or mechanical damage may interrupt electrical supply | Secure cables away from sharp edges, hot surfaces, and moving equipment |
| Neglecting post-installation testing | Installation defects may remain undetected before departure | Test every light, inspect visibility angles, and verify circuit operation before use |
Regular Maintenance in Marine Navigation Lights
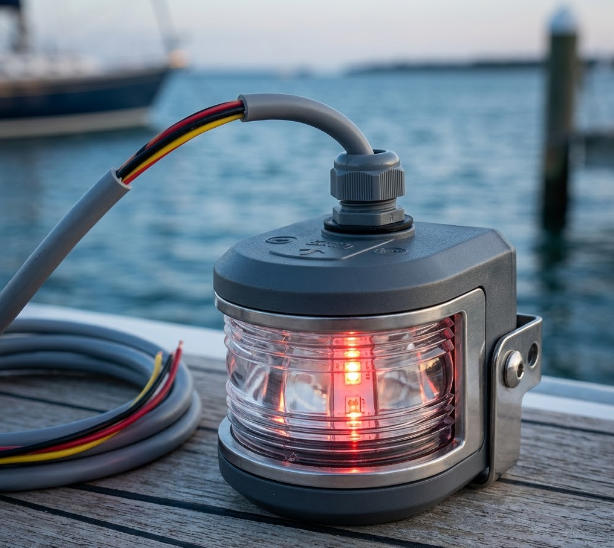
Routine maintenance for navigation lights helps keep them working as expected over time. Inspect them before you leave port. This is especially important before night runs or when visibility is low.
Clean the lenses with products the manufacturer recommends. Remove grime, salt buildup, and other debris that can dim the light. Do not use harsh scrubbers that can scratch or haze the lens.
Check mounting brackets and fasteners. Look for looseness, rust, and physical damage. Inspect cable insulation, connectors, seals, and any circuit protection for signs of aging. Swap any damaged parts with marine-rated replacements.
For LED navigation lights, follow the manufacturer’s notes on service. Do not assume the inside light can be repaired like a standard bulb. Carry spare fuses and any recommended replacement parts on board.
Keep a written maintenance plan. This helps commercial crews and fleet leads follow inspections, repairs, and part changes.
Ensure the Compliance of Navigation Lights with Marine Navigation Regulations
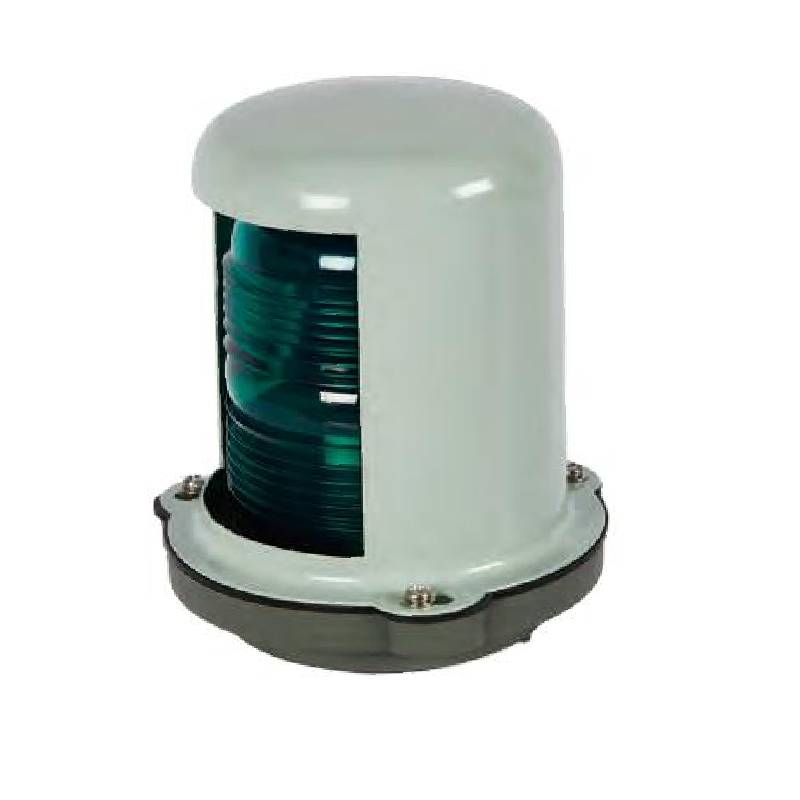
Correct installation means you do not stop at the manufacturer’s directions. The navigation lights also have to follow the rules that apply to the vessel and the area where it runs.
The COLREGs spell out what the lights must look like and how they must work. This includes color, visibility distance, the light arcs, and how the lights are set up. Some countries add their own rules too. In addition, ships in commercial use can face extra checks or certification steps.
A light that fits a small leisure craft may not fit a bigger working vessel. Also, a fitting sold as marine-grade does not guarantee it meets every legal requirement.
Before completing the installation, verify the vessel’s required light configuration, the fixture’s relevant approval documentation, and any applicable local requirements. For complex arrangements or uncertain compliance, seek advice from the relevant maritime authority, surveyor, or qualified marine electrician.
Summary
Installing marine navigation lights correctly supports safe navigation, clear visibility, and regulatory compliance. The work includes picking the right lights, finding the correct mount locations, fixing the units in place, wiring them in a dependable way, sealing against water entry, and running tests on the full system.
Ongoing maintenance matters as well. Saltwater, vibration, corrosion, and impacts can wear the system down over time. When ship owners follow the manufacturer’s directions and the relevant maritime regulations, which can help keep navigation lights reliable in harsh marine conditions.
For boat owners, ship operators, and marine equipment buyers, selecting high-quality navigation lights and correct installation is a useful investment. It can improve safety and support long-term equipment reliability.
