How to Wire Boat Navigation Lights
Securely installed boats navigation lights serve as essential equipment for safe nighttime navigation and navigation during low visibility conditions. The guide presents its instructions through simple steps which lead to successful navigation light installation for safe operation.
Table of Contents
Prepare Materials and Tools
The process of wiring a boat navigation light remains simple because all required materials and tools need to be used for safe and dependable results which will last over time. The following section provides complete instructions together with all necessary materials for the task.
| Material / Tool | Specification / Type | Purpose | Notes / Tips |
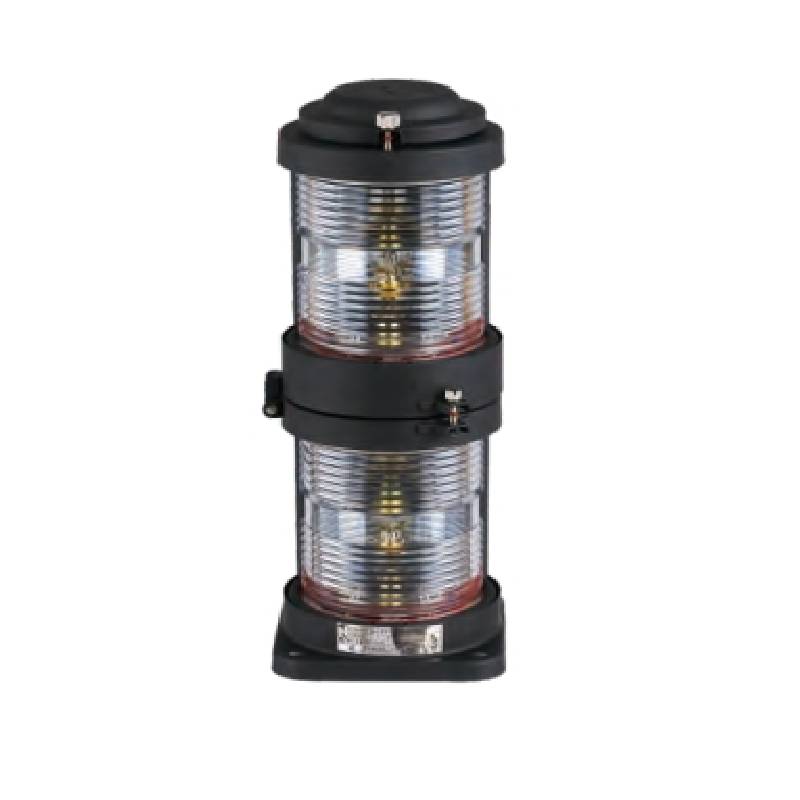
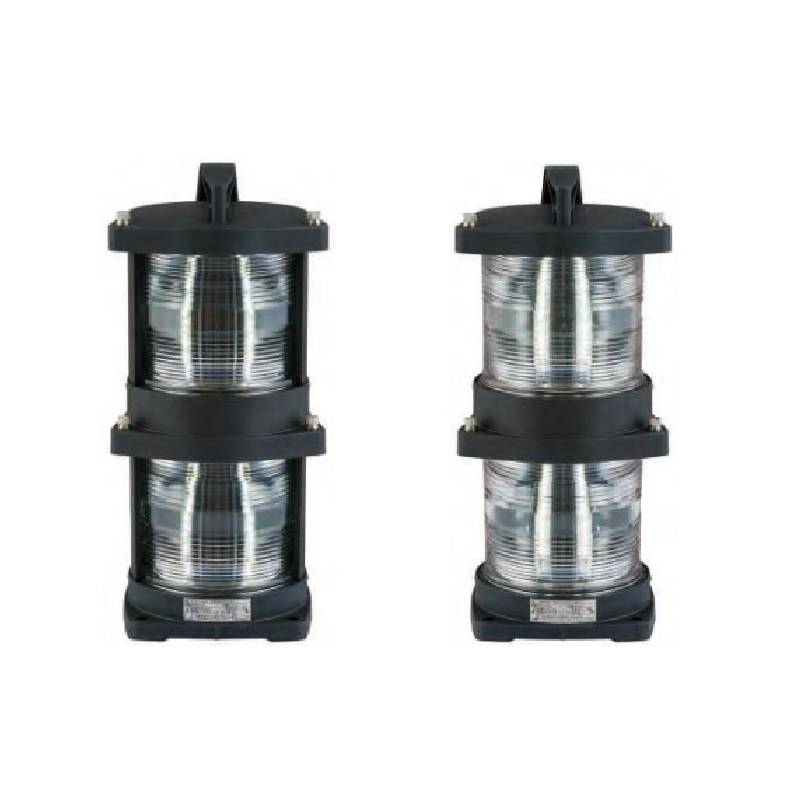
| Boat Navigation Lights | LED or incandescent | Provides visibility at night and indicates vessel position, direction, and movement | LED lights are long-lasting and low-power; recommended for modern boats |
| Marine-Grade Wire | 16–18 AWG (for LED lights) | Connects battery, switches, and lights; ensures stable current supply | Marine-grade wire is water-resistant, corrosion-resistant, and vibration-resistant |
| Fuse & Fuse Holder | Rated according to circuit current | Protects the circuit from short circuits and overloads | Install a separate fuse for each light to prevent one failure from affecting others |
| Switch | Waterproof individual switch or panel | Controls each navigation light | Use waterproof switches to extend lifespan |
| Terminal Connectors & Crimping / Soldering Tools | Crimp or solder terminals | Ensures secure connections between wires, lights, switches, and fuses | Crimping or soldering reduces loose connections and increases safety |
| Electrical Tape / Heat Shrink Tubing | Standard insulating materials | Provides insulation and prevents short circuits or moisture intrusion | Heat shrink tubing provides the best sealing effect |
| Multimeter | Digital or analog | Tests voltage, current, and circuit continuity | Ensures correct and safe wiring |
| Cable Ties / Clamps | Plastic or nylon | Secures wires and prevents chafing or vibration | Keep wiring neat for easy future maintenance |
| Marine Battery | 12V or 24V DC | Supplies stable power to navigation lights | Use dedicated marine batteries to prevent leakage or overheating |
The permanent operation of navigation lights needs marine-grade wiring and materials because they provide necessary strength for their light sources. The complete availability of required materials with essential tools leads to easier installation work while operational activities reach their safest state.
Wiring Layout Planning
| Planning Point | Action / Recommendation | Notes / Tips |
| Power Source Location | Install the marine DC battery system which operates at 12V or 24V in a dry area that provides good air circulation at the boat’s centerline location | Ensure the battery is securely mounted to prevent vibration or loosening |
| Wiring Diagram | Create a diagram which shows how lights connect to switches and fuses and the battery system using either paper or digital tools | Label positive/negative lines, switches, and fuses for easier wiring and maintenance |
| Wire Routing | The wire should be routed through the hull interior while avoiding all high-heat areas and engine compartments and pump systems and moving mechanical components | Use conduit or wire channels to protect wires and secure neatly to prevent abrasion |
| Circuit & Switch Design | Each light needs its dedicated switch system which can work together with an optional combined panel at the helm; each circuit needs its dedicated fuse system | Independent control simplifies operation, and fuses improve safety |
| Maintenance & Upgrades | The system requires extra wire length with every wire needing identification through labels; the team should create a wire path which will support future equipment installations | Makes replacing lights, upgrading LEDs, or adding devices easier |
| Best Practices | The system requires users to keep positive and negative wires together while preventing excessive wire crossings and keeping terminals close to switches and battery systems | Maintain neat wiring, reduce electromagnetic interference, and minimize exposed wire lengths |
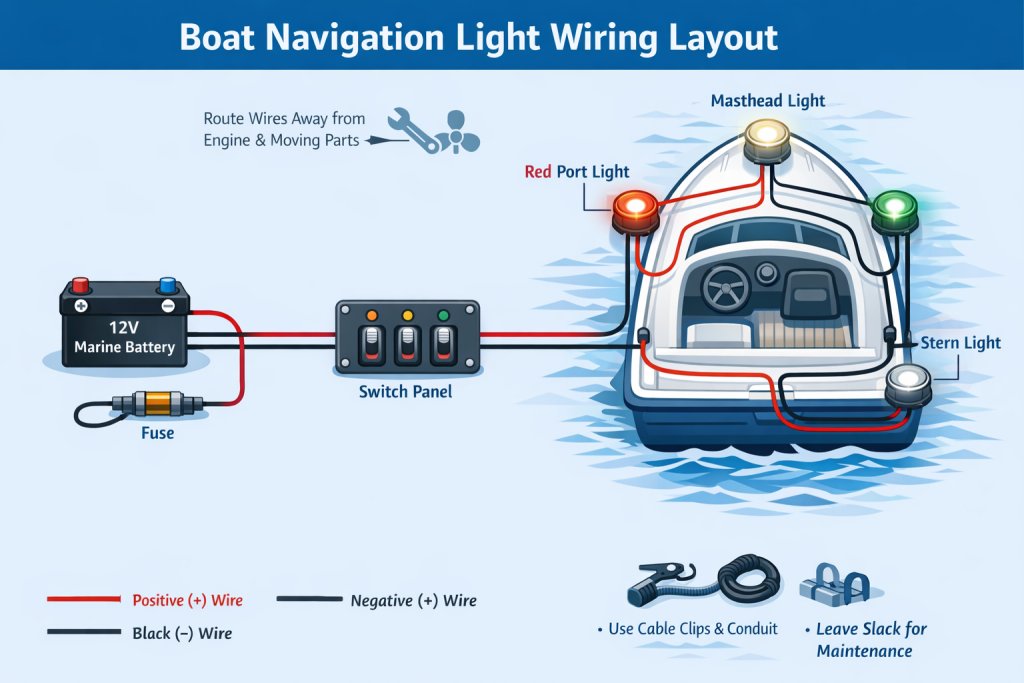
The wiring layout must be planned as the first step because it delivers three benefits, which include stable light operation, tidy wiring, and easier future maintenance work. The boat navigation lights will operate at their best performance level because a proper layout prevents short circuits and equipment failures and safety risks.
Wiring Steps for Boat Navigation Lights
Proper wiring not only ensures the navigation lights function properly but also guarantees navigation safety. Below are the detailed operating steps:
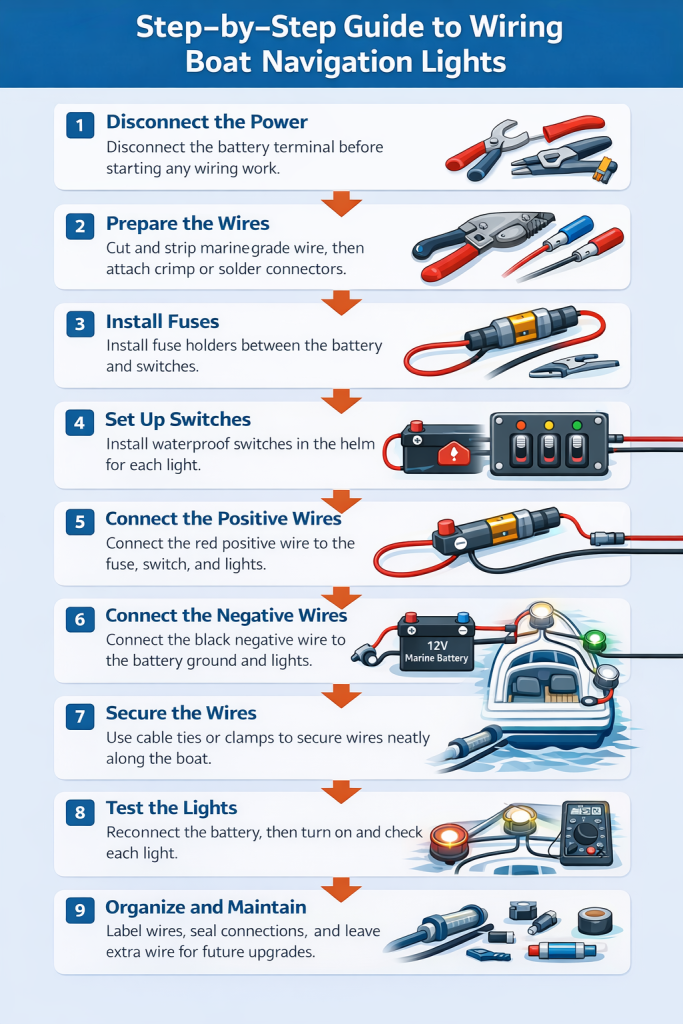
Step 1: Disconnect the Power
- Action: Before starting any wiring work, disconnect the positive and negative terminals of the boat battery.
- Purpose: Prevents electric shock, short circuits, or accidental damage to lights and wiring.
- Tip: Wearing insulated gloves adds extra safety.
Step 2: Prepare the Wires
- Action: Cut marine-grade wires to appropriate lengths based on lamp power and circuit distance (16–18 AWG is suitable for LED lights).
- Strip insulation: Remove 0.25–0.5 inches of insulation from each wire end.
- Terminals: Crimp or solder terminal connectors to ensure a secure connection.
- Tip: Leave enough wire length for future maintenance or upgrades.
Step 3: Install Fuses
- Action: Install fuse holders between the positive line and the switch, choosing a fuse rating that matches the light’s power.
- Purpose: Protects the circuit from short circuits and overloads.
- Note: Each light should have its own fuse to prevent a single failure from affecting others.
Step 4: Set Up Switches
- Action: Install switches on the helm or control panel, allowing each light to be controlled independently.
- Optional: For multiple lights, use a combined switch panel for centralized control.
- Tip: Use waterproof switches to ensure durability and safety.
Step 5: Connect the Positive Wires
- Action: Connect the positive wire from the battery → fuse → switch → positive terminal of the light.
- Tip: Route wires along the interior of the hull, avoiding high-heat areas, the engine compartment, or moving mechanical parts.
Step 6: Connect the Negative Wires
- Action: Connect the negative wire from the light → battery negative terminal or common grounding bus.
- Note: Ensure secure grounding to prevent flickering or non-functional lights.
Step 7: Secure the Wires
- Action: Use cable ties or clamps to fix wires along the hull or inside conduits.
- Purpose: Prevent wires from moving, chafing, or being pinched.
- Tip: Keep wiring neat and label each wire for easier future maintenance.
Step 8: Test the Lights
- Action: Reconnect the battery and test each light by turning on its switch.
- Check:
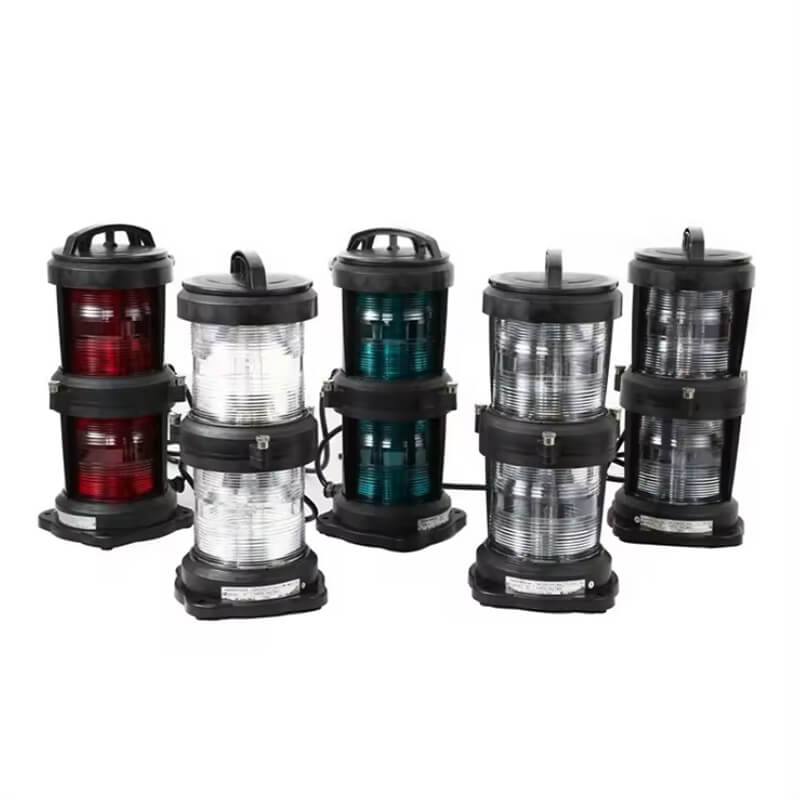
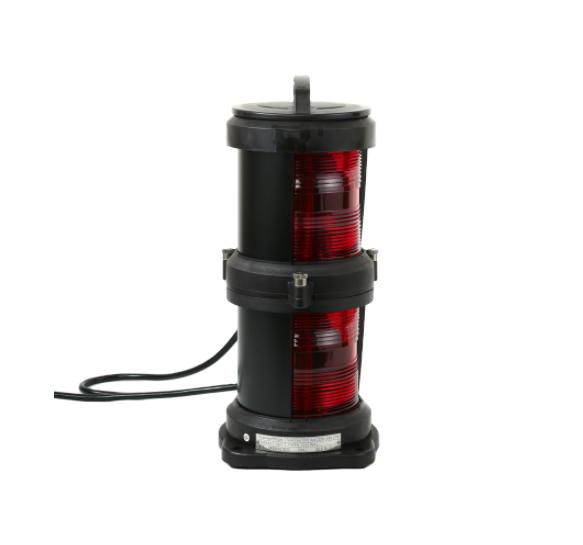
Port (Red) light
Starboard (Green) light
Stern (White) light
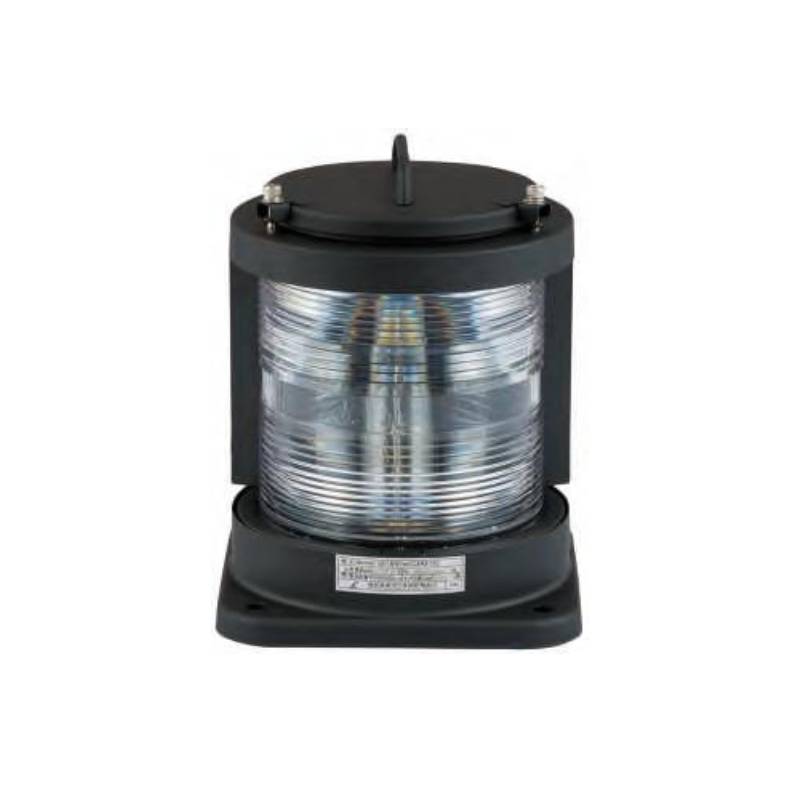
Masthead / All-Round (White) light
- Tool: Use a multimeter to check voltage and circuit continuity, ensuring lights work correctly.
- Tip: Testing at night is more intuitive to verify brightness and direction.
Step 9: Organize and Maintain
- Action: Inspect all connections for tightness and secure wire placement.
- Tips: Leave extra wire for future upgrades or lamp replacements.
Seal all connections with heat shrink tubing or electrical tape to prevent water ingress and corrosion.
Periodically check fuses and wiring to maintain reliable operation.
The detailed steps that you should follow will create navigation lights for your boat which will maintain stability and durability while meeting safety standards. The proper routing together with secure connections and maintenance activities will increase lamp lifespan while delivering dependable lights which support safe nighttime navigation.
Test Navigation Lights
Routine Maintenance Recommendations
The maintenance work which occurs on a regular schedule serves as the key requirement to keep boat navigation lights operating steadily throughout their entire lifespan. The first step requires people to conduct frequent checks on all electrical wires and their connectors and terminals to confirm that there are no issues with loose connections or corrosion or wear.
The lights require testing through voltage measurement and circuit continuity assessment which must be performed at regular intervals because it helps to verify their correct operation and circuit safety. The second step requires washing the lamp cover and body to remove dirt and salt stains because seawater environments create special cleaning needs which must be addressed. The most effective method to protect connectors and cables from moisture damage and short circuiting requires using heat shrink tubing or waterproof tape for sealing purposes.
The system requires ongoing monitoring through fuse and switch inspections which demand immediate action to handle any identified problems. People should maintain spare bulbs and wires to enable them to perform immediate replacements and upgrades whenever needed. The routine maintenance activities will help navigation lights to operate for longer periods because they will ensure optimal light performance which enables safe nighttime navigation.